Monday 21 April 2014

Day Twenty-one

I'm getting there.
Model - check. Glue - check. Forceps - check.


I went through hell to make these hooks. Now I enter a new hell - gluing them on.  I lose all but six of my precious hooks in the first round of gluing. The glue evaporates while I am conveying the parts to the model in the forceps. Or, there is too much glue and the vapor attacks the hooks so that they open up and go all soft. I was close to tears yesterday. I accept counsel to the effect that I should not give up LOL. I make more hooks and have another go. I learn. I learn that one must use a glue that has intermediate viscosity - my Mr Hobby Mr Cement is slightly viscous, in between old-style glue and modern liquid - to glue one foot at a time. Not both at once. Once the hook is attached by one foot with Mr Hobby, the other foot can be glued with my normal cement (Tamiya Extra Thin Cement). 

To attach tiny little hooks made from sprue: do them one foot at a time.

These hooks are not quite a disaster but close to. I know they are a little big, and a little thick, not square and not consistent, a bare pass, but by now I have reached a special state of acceptance. By the time I come to glue the last ones on the front I'm almost on top of the process but next time I'm going to have to spend more time making those hooks. Live and learn. Into every model a little rain must fall.

A few more pieces go on then it's time to set up for painting! So I set up a *spray booth* i.e. a cardboard box.


I try out my brand new Aztek A470 airbrush (with just thinners). The fucking thing doesn't work, at all. Yes, I followed the instructions. I think here is probably a good place to mention that the special Aztek connector I bought to use this expensive professional tool with canned propellant also does not work. It is not airtight. The hose screws into a metal ferrule which is fitted to the plastic body of the valve with just splines so it pops out when I try to tighten the connection by hand. Unbelievable. Along the way I've been happy to mention all sorts of good products that I use. Aztek, you need not apply for sponsorship of my blog; I just became an Iwata man.

So I pull out my old trusty, a basic model Revell/Badger airbrush that thirty years ago cost $15 and now costs about $40 and which has served me well for all that time. These basic airbrush kits are actually pretty good value although you cannot do anything fancy with them, only basic coverage. The poor old thing works briefly then packs it in. I'll soak it in thinners overnight; maybe it's just blocked.

But this is a delay, not a setback. Stay calm Nath. While I am waiting for the universe to send a new airbrush down my chute I suppose I can work on the accessories, damnit.

Thursday 17 April 2014

Day Twenty


So this is how they look after a few hours. I am not correcting them, just letting them sit. I will square each one up just before I glue it.


Nearly all attempts are failures like these. The first bend is assured but the three after that are challenges.


I go shopping. I buy the very fine rod with the hooks in mind and whilst the material is softer than the copper rod it's still too hard to direct with the forceps, with which I can only deliver so much force. I buy the micro tube as an option for the antenna-securing tubes.


Every once in a while I make an OK hook.


I have ten 'candidate' hooks. I intend to make as many as I have to to have twenty that are each one better than the last. It doesn't bother me that they have opened up. Every once in a while I stop what I am doing and make a hook or two. I expect to have my twenty by the end of the weekend.


Tuesday 8 April 2014

Day Nineteen

I was not in the ball park, hook-wise. I was in many ways deluded and misguided. I made a proper review. Firstly I got a proper working surface. The back of my mirror, neutral grey, is matte. It is not variegated, pitted, and soft like my cutting mat. The mirror is hard and flat. Why did I persist for not hours but days with a totally inadequate tool?


Much better.


Have I ever shown you my tweezers collection?


I use these two exclusively; they were very expensive but they were presents. The points meet properly, they are sharp and precise.


I do some testing. This was bent perfectly to ninety degrees and then left overnight. Look at how much it's given, must be at least five degrees.

I think properly about what I am doing, in detached fashion. Sometimes it can take me quite a while to get to this point. I see that I am holding the part with the forceps any old how. I realise that I must hold the part in such a way that when I make a bend, existing bends are not stressed by the operation. So, for example, when I put the next bend in this part above, to make a U shape, I must hold the part on the inside, the top of the U, so the stress of bending is stemmed by the tweezers and not communicated to the bends I have already made. I work out the best order in which to do the bends, and for each one the best side to come from. I even determine that, what with the sections of sprue all having their inherent slight curve, I should bend against that curve to 'pre-compensate' for the material's springiness, rather than aiding and abetting it such that my hooks' straight sections come out extra-bowed. Finally I somehow see that my material is not fine enough; I go down a few notches diameter-wise.

I start producing much better hooks. This one, whilst not perfect, is actually good - the first really good hook - and I would be happy to have another nineteen just the same. This is good enough to be my standard reference hook. There has to be such a thing, a reference.


I will leave this hook for a few hours then we'll take a photo, that will show how much it has opened up.

But still I have qualms, reason to question. This one scaled up is about 35mm long. From all my photos I am guessing they were no more than 30mm. I do not consider inches; I must only think metric. It would be a mistake to look at the photo and think 'that looks like it's probably around an inch'. It was conceived in millimeters and the last thing I want is my hooks scaling up to exactly an inch long. I refer with great care to the brass parts but then dismiss this activity as misleading. I have photographs of those hooks, of the vehicle itself. I look through my book carefully and make what is known of reality my reference. Duh.

I want the next size down, meaning a thinner diameter.

That said, I do just make the comparison. Eduard and I seem to be nearing some accord. The Eduard hooks are based, I am sure, on the rows along the top of the hull side that we know were basic and standard, common to and present on all versions of the vehicle, early through late. What I have made is in between the putative 'standard' that Eduard chose and some of the photos I have which show a 'squarer' shape, the hooks' legs not so short.

The Eduard hooks are over 35mm; I have already established that this is too long, at least I think I have. Hooks almost always are shorter than they are tall, as a matter of function. These Eduard hooks are stylised, are approximations; is that what's happening here?


Wednesday 2 April 2014

Day Eighteen

I have given up on the wire; it's too difficult to work with at this scale. I cannot deliver enough force or precision and with my best effort the hooks' sections are all bowed. It's a shame because the copper wire gives me the constant diameter I want.

So I fall back on old trusty. It's virtually impossible to stretch sprue so that its diameter is constant but I get little sections that are quite good enough to fool the naked eye. Each hook is only a few millimeters long straight, and over such a short distance one really cannot detect the minscule tapering.

Before I start bending, knowing that only about one in ten attempts will succeed, I have to make up a decent pile of stock. I stretch sprue for an hour or so, cut out the good sections, and grade them for thickness. The nearest pile is *about right*, then there is *too thin*, and *too thick* there at the back.


Getting there. Starting to feel optimistic. I need about twenty of these.
Good luck to me. As you can see, still only one of these hooks is any good.


I have discovered the best way to bend these by hand though. I put my steel ruler down on the cutting mat such that I can with forceps bend the little sections up against its edge. This works better as I am providing myself with reference surfaces such that the bends won't also be twists. Easier working in 2D than 3D, if that makes any sense.


Note that the finished hooks, in addition to being wildly inaccurate, are opening up; I have not used enough force to pass the material's yield point to the right degree. All the bends need to be just a little acute, something like 87 degrees, as the material will want to return to its original form - to straighten out - and we have to compensate for that.

If I want these twenty or so tiny hooks I am going to have to make a hundred or more. Practice makes perfect, yep. This blog is going to be very dull for the next few days - sorry!


So I've been at it all afternoon and my hook-making skills are improving. I'll put it down for today, and hopefully in the morning my hands will have learned something. It's like anything; if I want to get good at this I'm going to have to practise, practise, practise and there isn't any other way. I know I will, eventually, have twenty of these that are good enough. I intend to win this one; it's just going to take time.

Sticking them on should be comparatively easy. For the ones along the hull sides I plan to use a bit of masking tape with little marks measured on it as a guide. Cross that bridge when we come to it, I guess. I'm feeling quite positive all in all. Once I get these hooks on, and a few other little bits and pieces, I'm ready to start painting.


Tuesday 1 April 2014

Day Seventeen

Tubey things, it is time.

Good old stretched sprue. Is there anything stretched sprue cannot do? I make myself as many 'blanks' as I can; I'm going to have to make a fair number and take the best two.


Before I even think about drilling I try to square up the sections by dragging them over an old file. Actually, I held it up the other way so I could see what I was doing. The object here is to square up the ends as well as possible, so I can see where to put the point to make the start of the hole, and so the point doesn't want to slip off to one side or other, as it will if the cut is at an angle.
The hardest part of the operation is putting a tiny starter hole dead centre. You can use a needle or something like but I was given a whole lot of these probe/point things by a science lab.


Holding them in a pin-vice seems to help a little. This is a first attempt. It's a little rough but that's okay. To get the slightly flared lip that we see in the photographs hmmm. I can bully it a little with the next drill size up, but it's likely the wall will split. What I might do is dip the ends very carefully in model cement - I have one glue which is of an in-between consistency, not too thick, not too watery. The glue will dissolve away any roughness and hopefully form a lip. Maybe I could use Aquadhere to get this effect. Maybe it won't work at all and I'll have to content myself with just the best drilling job I can do. We shall see.

Day Seventeen is a long day. I've used too big a drill bit here.


More stretching and cutting. The one at the top is a pass. Failures on the right, blanks on the left. If I can get two that are neat and clean I don't know if I'll push it with those fancy ideas I was talking about above.
I abandon the fancy ideas. I'm just glad I finally got two that are good enough.


And on they go.


Hook time. As mentioned earlier this vehicle had, in addition to the handhold-type hooks, many smaller hooks for general attachment. From this picture we can conjecture that steel rod was just cut and bent up and welded on, and that quality control was not an issue. You can see they are crude, not even the same size. Still that does not give me much licence as if I don't get them all pretty regular it will just look like sloppiness on my part. So I have to be better than even the workers in the factory.
Behind the gun mount we see the second type of hook, more of a loop.


Eduard's brass set attempts both but I can't really use either of them, because they are flat. They would of course look terrific if one did not know what the real thing looks like. At least the loop-type hook will be easy to make; I can just wind wire around something of the right diameter to make these. Still thinking how to make the littlies though. 

From the photos I have, there was no small variation in hook shape and placement. There are very few genuine Hetzers around and most in museums are actually post-war G13's that have been 'retro-fitted' to be as close as possible to the WWII machine. I am certain about some of the hooks' shape and place but not all. I'll just do my best from the photos and not fuss too much.

I have made some messes along the way, highly visible ones. The things I did well will have to serve as distractions from the things I did badly. There is not a lot I can do to save that machine gun mount; hopefully people will be looking at the muffler, which is bloody good if I do say so myself.

I can pile on accessories, miscellaneous stowage, to hide a few other problems like the front trackguard not meeting the hull properly. But these hooks are an essential detail; they are very, very important. If I get these right then all my other slip-ups will be somewhat redeemed.
I am in hook HELL.  


Thursday 27 March 2014

Day Sixteen

Time for a bit of a stop and think.

And here are all the other bits.


So what's the hold up? It comes down to three major construction problems in ascending order of difficulty: I have to get the remaining brass brackets and such on. The jack mounts are incredibly difficult. Brass to brass for a start, and butt-joins meaning no surface area for the glue. This joint will not be holding a ton like in the old Superglue ads. It will be as fragile as spun sugar. I am not competent to solder these parts. Put two dots of flux, then two tiny streaks of solder. Somehow hold the brackets in place and then just a touch - the touch of a master solderer, which I am not. The glue of choice is superglue or Araldite. Superglue is just going to be a disaster like the first time I tried. The part sticking not quite straight, me trying to adjust it with a fine point, over-correcting, too late - it's messed up. Debond, start again, with a probability of success around 7.5%. No thanks. Therefore I must use Araldite. If I do this right, the small amounts of glue on the feet will form a little pool around, that will strongly suggest welding. I'll be able to tailor that too, with my knife.


Originally I thought to glue them to the track guard but leave them open to receive the jack once they had been painted with the whole. Then I could slip the already painted jack in, tack it in place, and close the brackets with tweezers. But that makes the two brackets so, so hard to place, individually, in the right place, aligned correctly. The better idea is surely to paint the jack its basic gunmetal, paint the brackets with the base colour. Now I assemble the jack in good relation with its brackets. Then placing that whole assembly will be easy, rather than hard. Okay, that's that sorted.

What else is upsetting me? 


I have actually solved the nightmare of that plate with the four pegs, that is for holding antennae in transport. I put ONE peg on it, because I have a cunning plan. Once I put those two bits of tube on the vertice of the hull there, and the etched brass latch thing, I can make those aerials - including their little collars and wingnuts, hell why not - and then I can just pop them in. Just a tiny dot of glue to hold the mount ends of them against that plate and hey presto! - those four pegs might as well never have existed. Why did I fail, with this part? It was because I cut corners at every point. The four pegs, they were not perfect little cylinders, all the same length (and that would in theory mean 35 times neater than in reality. I should have mounted the bits of rod in my pinvice and filed the ends square, to show that they are cylinders of steel rod and not, I don't know, cocktail weiners. Then, after cleaning up that brass plate thoroughly, what if I had mounted each peg separately, one at a time, caring that each one attain perpendicularity quite without regard to its neighbours. Now I am not placing each peg in reference to its predecessor, and that means I am not incurring quite gross datum error, by the three cumulative errors I make in trying to get all four happening at once. I put all four on at once knowing they were not precise, and that I'd have to massage them to get the effect I wanted. To get an EFFECT rather than the attainable reality of four steel pegs that are perpendicularly welded to a plate. So that's for next time. Looking at this effort I do regret not keeping it, as it was right enough first time. Just a tiny bit of filing to do. But, win some, lose some.

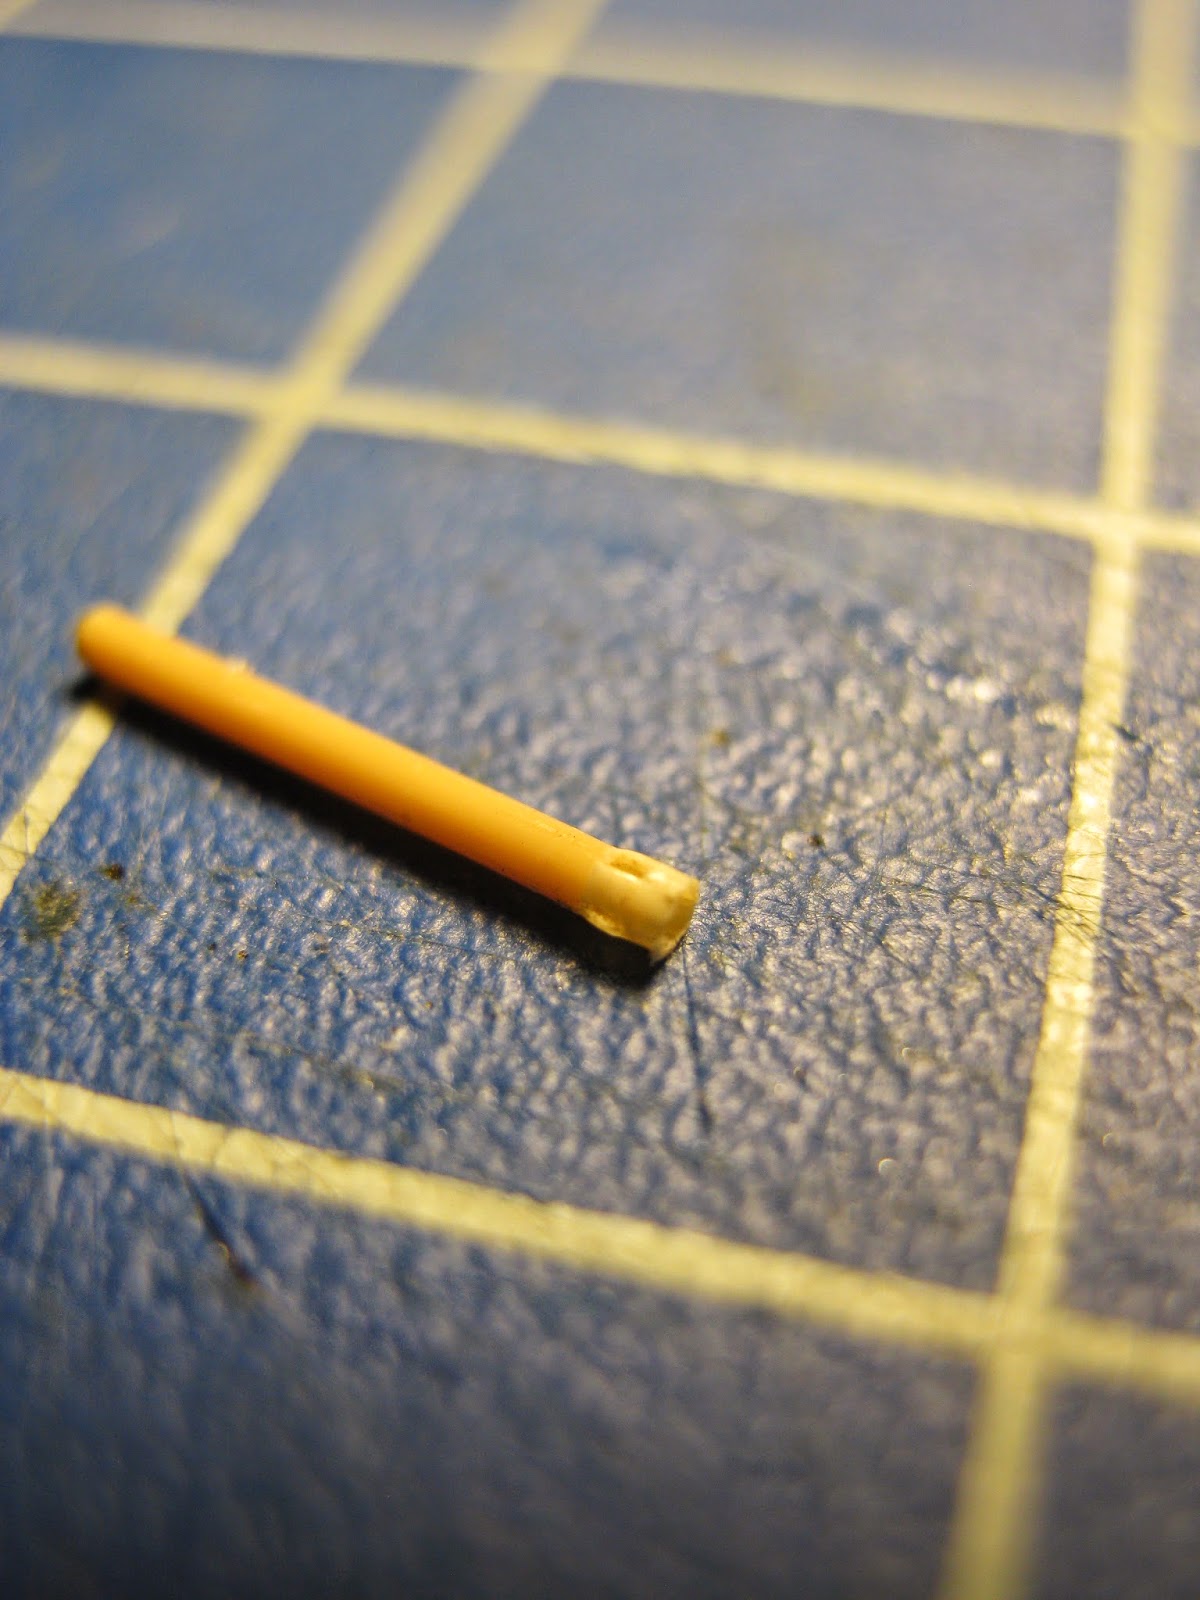
All that remains, and it should be so simple, is to put those two tubes on the hull, that hold the ends of the antennae. But as we have seen, these are proving difficult to render. Maybe if I sit here all day I will, with the solder, produce two whose holes are convincing and which are exactly the same length. And the right length. The solution here must be to find different rod or tube which is exactly the right diameter and which can be drilled. The two parts start out a little long. I drill them deep. Then I clean up their ends so they are the same length, then I drill them some more. I need those edges to be thin, and clean. Otherwise they are not tubes, and I want tubes.

But this is what's really bothering me:

From the beginning, before I even bought the model, I viewed these hooks as being likely the greatest challenge of the build. They are tiny, smallest hooks I've ever dealt with. And there are rather a lot of them along the hull, and they have to be in line and spaced properly. They have to be glued in place just right, each one. To make it worse, they aren't the type for which you can just drill two holes, and have to worry only about getting two bends right. These are *applique* and that's a bummer. There is more: photos in my book show two consecutive hooks that are different damn sizes! I cannot use that as any kind of excuse; they still have to be very similar in size and shape, even if in reality they were bent and pinched off by hand, at a quick pace. The brass-etched set actually includes them, but they are quite unrealistic (because flat, as though cut from sheet steel rather than fashioned crudely from steel rod) and a detail like this done right is the icing; these hooks executed well are the difference between B-grade and A-grade. Yes, I have noticed that the larger plastic kit hooks I used are badly cleaned up, malshapen. I can work on those no problem, get them regular. That's for the fussing stage.

How will I make these tiny hooks? I need a jig, something I can press wire to with quite a bit of force. I need a manufacturing process, a means of mass-producing a limited run. If I had a bit of square section brass rod I could solder that to a base. Now I would have the male part of that jig. All I need is something to press the wire into conformity with it. What about a matching part, actually another male? Two jigs just the same and I squish the wire between them to make one side of the hook, then come round the other side and finish it. I'm going to try it. The other way is to solder two bits of rod onto the reciprocating press, at the perfect distance to do the job in one go. I wonder. I guess I'll have to pick up that bit of brass rod (.75mm is my guess) and a bit of plate to join it to.

So we have a bit of a shopping list for our next trip to the hobby shop. A few sections of brass and a bit of plate for the hooks. Some cylindrical stuff from which I can make two little tubes. I think I have no other construction issues.

Really, it's just about time to buy paint.


I opened my paintbox after mmm thirteen years and paints some of which had been in there for as long again were - fine. Amazing. Humbrol tins that had been opened many times and whose seal was a thick crust of paint - fine. Incredible. A few had dried up but I don't need to buy too many to restock. Got to get masking fluid. Better get some of the proper Aztek cleaning fluid before I get serious with Mr New Airbrush, although I'm not going to bother with the paint trap; that will be the cardboard back of the box I convert in five minutes into a *spray booth*. Yeah, I'll stick that dust-buster thing in the back and that will do fine as an extractor :D

I have a plan with the painting. Let us take a trip back in history, thirty years or so to when Francois Verlinden was the king of modelling and his weathering technique was the most copied and the standard. It - and nearly all other techniques - basically began with the base coat, be it Tank Grey or SAS pink. Mandatory were: washes of black, or browns, other colours, the simulation of spattered mud. Put stains here and there, perhaps a few twigs in the suspension, and then rust was the big thing, streaking technique. The other major element was drybrushing. Then I went away again (for quite a long time) and when I came back I saw chips in paint. The salt method. Painting technique that has completely transcended and dated my own old methods. Special solutions for making unbelievably reaslistic rust. Oh and of course acrylics were invented but I'm not ready for them yet. I have used enamels all my life, and enamels is what I know, and enamels is what I should use, this first time in many years.

The bewildering universe of after-market brass, resin and so on, that is really something. All the conversion kits. Accessories like you wouldn't believe. The capacity to draw a label for a can and then laser print it onto a blank decal sheet, oh yes. Now really very impressive construction is within reach of the average modeller. I have tried to build as well as I can but I see that, once more, I have rushed, and made unnecessary mistakes. But so it is. Some parts of the model are looking very good indeed. I am happy with that muffler; it's going to look terrific. This thing has individual track links, that are going to look spectacular no matter what I do to them. I will be happy with the parts that worked out, and try to learn from the - inevitable - mistakes and imperfections. It was a while back I stopped putting up pictures of the things I was making showing only their best sides; we may as well see the warts and all. Or this blog would be dead boring, would it not.

But painting is where it's at. Painting is the art and I confess I feel myself up against it. I want to incorporate all these new ideas - like the chipping methods - but I have my own little plan too. I have always thought that what I should do, once finished construction, is paint the vehicle as though steel. As it was, in the factory, before it rolled along to the painting area. Then, after judicious masking of areas that would receive wear, primer, then the base coats with a second layer of masking that reveals just a tiny bit of the primer. With the idea that by this clever use of varnish and masking, rubbing and scratching away, I can have wear that reveals the bare metal via the primer. I want to work with paint at that scale. I believe any chips or scratches I make this way should look immeasurably more realistic than if in reality they are illusions layered thickly on top of each other, all upside down. And then all the other methods I know and love so well, as outlined in previous paragraph.

But I have a brand new airbrush, and it's a real one, not a toy one like I had before. No, I take that back Badger, and thank you for the airbrush that has worked well, just like the day I bought it for over thirty years. But now it's time to step on up! And I have just the very thing ...

... and here's one I prepared earlier. With just a few little bits of special care, but pretty much from the box. I guess I should try every method I can fit on it.


Monday 24 March 2014

Day Fifteen

A while back I had plans here:

These tubes which house the ends of antennae in transport have to be modelled somehow. We have already knifed away the kit event that we suspect might somehow be related to the metal tubes in the photograph.
The closest I can come in terms of dimensions and drillability is this solder.
I cut off lengths and true the ends as best I can by putting them in my pinvice and running a file over. I want a starter mark right in the centre to drill and I am at the limit of my vision.
The solder is not regular and this is about as good as I can do.  I probably need another material. I have made many of these with the solder and I'm not happy with them.