

 Before I even think about drilling I try to square up the sections by dragging them over an old file. Actually, I held it up the other way so I could see what I was doing. The object here is to square up the ends as well as possible, so I can see where to put the point to make the start of the hole, and so the point doesn't want to slip off to one side or other, as it will if the cut is at an angle.

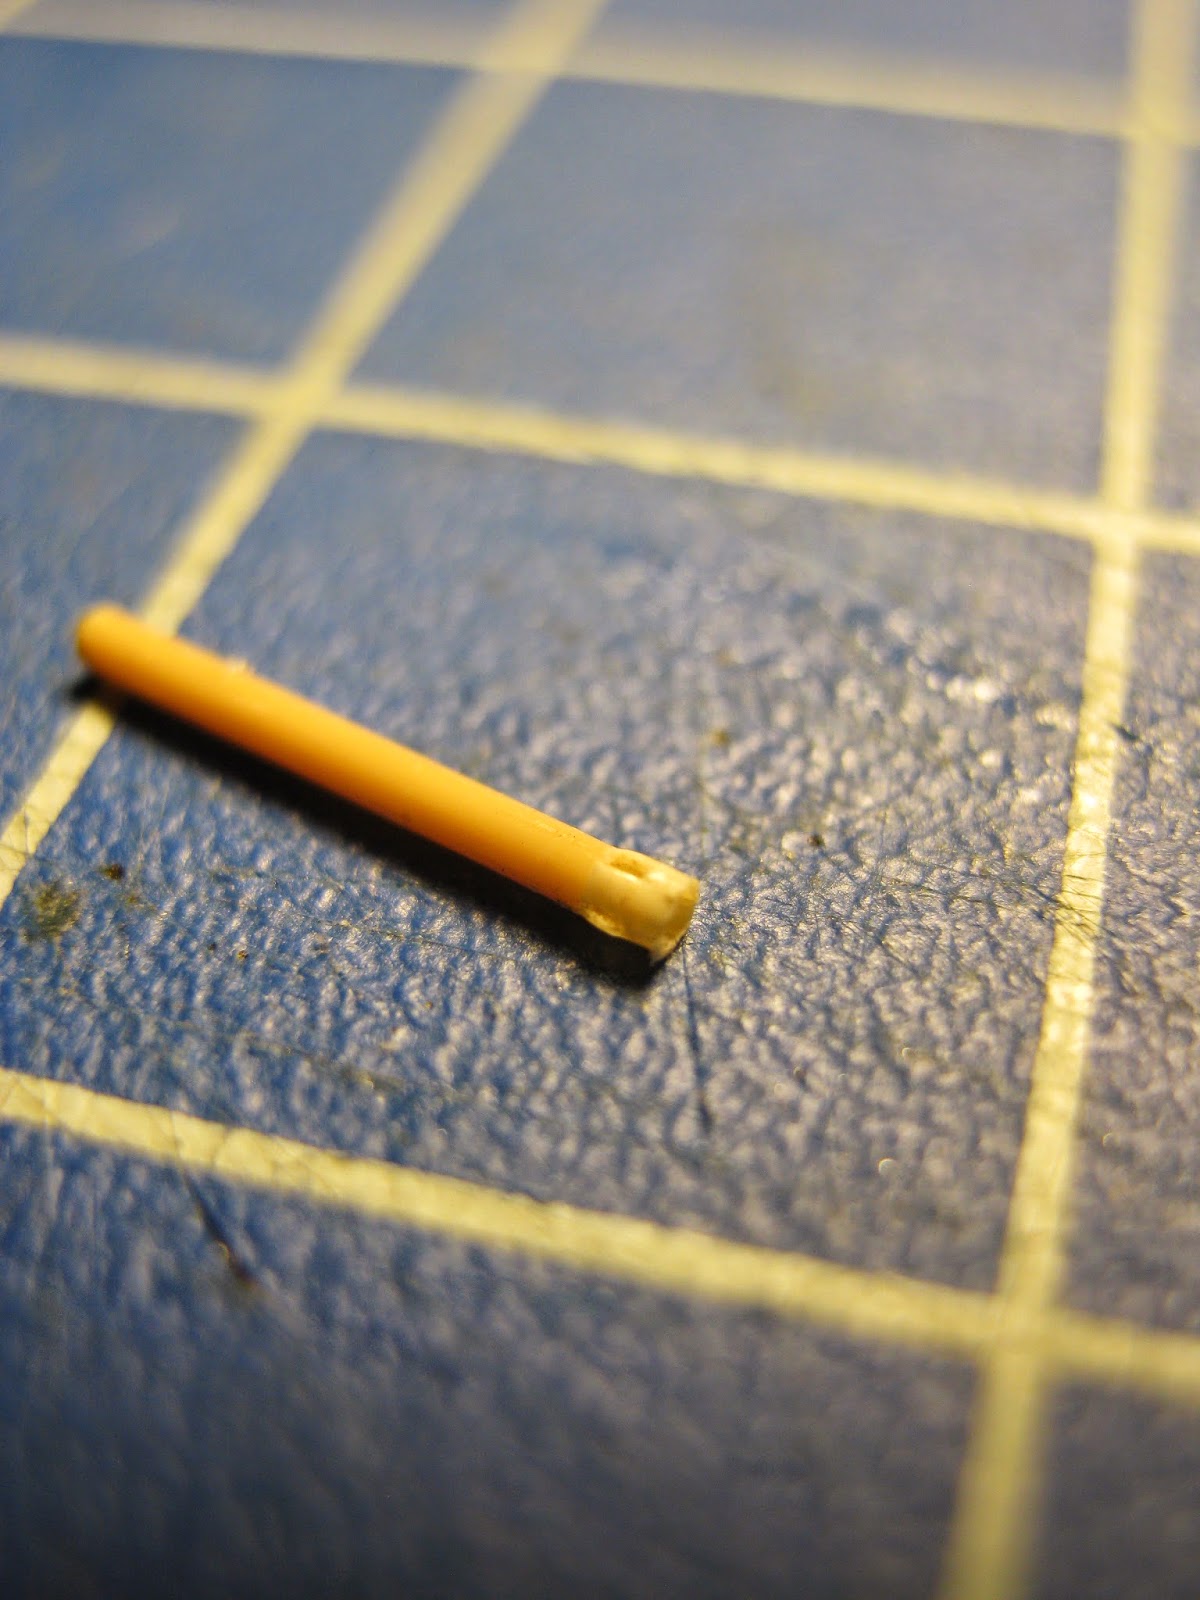 Day Seventeen is a long day. I've used too big a drill bit here.
 More stretching and cutting. The one at the top is a pass. Failures on the right, blanks on the left. If I can get two that are neat and clean I don't know if I'll push it with those fancy ideas I was talking about above.
 And on they go.
Hook time. As mentioned earlier this vehicle had, in addition to the handhold-type hooks, many smaller hooks for general attachment. From this picture we can conjecture that steel rod was just cut and bent up and welded on, and that quality control was not an issue. You can see they are crude, not even the same size. Still that does not give me much licence as if I don't get them all pretty regular it will just look like sloppiness on my part. So I have to be better than even the workers in the factory.


Eduard's brass set attempts both but I can't really use either of them, because they are flat. They would of course look terrific if one did not know what the real thing looks like. At least the loop-type hook will be easy to make; I can just wind wire around something of the right diameter to make these. Still thinking how to make the littlies though.
From the photos I have, there was no small variation in hook shape and placement. There are very few genuine Hetzers around and most in museums are actually post-war G13's that have been 'retro-fitted' to be as close as possible to the WWII machine. I am certain about some of the hooks' shape and place but not all. I'll just do my best from the photos and not fuss too much.
I have made some messes along the way, highly visible ones. The things I did well will have to serve as distractions from the things I did badly. There is not a lot I can do to save that machine gun mount; hopefully people will be looking at the muffler, which is bloody good if I do say so myself.
 I can pile on accessories, miscellaneous stowage, to hide a few
other problems like the front trackguard not meeting the hull properly. But these hooks are an essential detail; they are very, very important. If I get these right then all my other slip-ups will be somewhat redeemed.
I can pile on accessories, miscellaneous stowage, to hide a few
other problems like the front trackguard not meeting the hull properly. But these hooks are an essential detail; they are very, very important. If I get these right then all my other slip-ups will be somewhat redeemed.
No comments:
Post a Comment