Day Four actually - I just couldn't stop. It's quite addictive drilling out little holes. All the links are done and ready to go together and to go on the vehicle. So into the box they go, done.
I'm stressed. I'm having real difficulty working out what should be done next, the order of things. Because I have to coordinate the brass parts with the kit parts, and work out which parts can go on the vehicle and which parts need to be painted separately. So I go and find something little to do. This viewport is fairly robust and I'm not going to knock it off by careless handling. I think I can safely put this bit of brass on. But now I've started putting a few delicate bits on, I have to handle the model with a new level of care.
The periscope guard in the kit is too thick, and the brass part is too thin. I make this part out of styrene. Styrene has a lot of memory. I did not bend this part very well; I'll need to take another shot at it.
Here is the stanchion for the night light. I've committed myself to the higher level of care and handling. I'm going to start putting bits and pieces on. This photo reveals a bit of seam on the mounting, and also a gap between the brass and the hull. Like I say, I only really see these issues when I get the photos back. It will be easy to touch up the plastic part - done it already - but I must fill that gap. I'll run a bit of Araldite (epoxy) in there and then it will look like it was welded.
No stopping me now: on goes the light fitting itself.
Here is a photo of the real thing. Now if I still had that huge collection of spares I'd hunt through and find a nightlight whose shape is closer to the photo. The kit part is too flat and angular, and I've seen better. But I don't have that collection anymore. However, I have drilled a little hole for the wire and I can probably stick on some tiny bits of this or that to suggest the little bolts.
Here is the kit parts for the jack, and couple of photos of the real thing. The jack that comes in the kit has a folding handle (which is also too
long). The photos I have in my book do not support that; they all show
the handle locked in the 'use' position. I'll be making a new handle out
of a bit of styrene rod - too easy. Even so, the jack kit parts are excellent. The jack
always used to be two parts one of which the handle. This had six parts
and they were very nice.

Looking now at the brass side of things, two filled ribs on the kit part are supposed to be handles. Off they come.
You can see the two hooks in this photo, outside of the mounting brackets.
These are the handles from the brass set (part 74). It's a nice gesture, and I appreciate it, but these are flat in section when they need to be round. We do have metal rod of the correct diameter. So, it will not be hard to bend up two hooks and drill four holes.

The hatches were a bit short but I thought I'd go right ahead and glue them in anyway. What was I thinking. Disaster. So shameful I didn't take a picture (until now, when they are still not perfect but somewhat redeemed). Looking at the photos below, of an existing vehicles, there is some comfort to be had in seeing that the real hatches did not fit so precisely. I could even say I buggered up the hatches in a deliberate attempt to impart realism. No, I couldn't say that, so today I pulled them off and built up those short edges with a bit of putty. I expected to make things worse actually; this was just a last-ditch effort as I'd already resigned myself to making new hatches from styrene. But recovering the messed up hatches went surprisingly well and I have decided I can live with the overall result. Better luck next time.


Time for a little round-up, parts that are not ready to go on the model yet, either because they need more work or will have to be painted separately. Clockwise from top left: rear fenders, the jack, tools from other kits that have been carefully cleaned up and refined (pick made pointy, axe made sharp etc), the one open hatch with its ejector pin marks filled (awaiting inner detail). Then there is the brass part that corresponds to the wooden block, mounted on the front trackguard, that is used with the jack. At the bottom are a few hooks I haven't put on yet, the periscope guides, the periscopes, and finally the metal box that sits on the trackguard. I seriously messed up the brass part but can fall back on the kit part, if I give it a bit of special attention. Or I can use the brass part as a template for a totally new part made from sheet metal.The kit gave me the towing cable eyes and said to use 'thread'. If you use actual thread you should soak it in aquadhere (PVA, wood glue) first, to 'plasticise' it and get rid of the tell-tale fibres. Far better to buy real cable from a hobby specialist - or an electronics shop.


Tools-wise, strangely, the kit came with only the crowbar and the shears. Missing is the axe, the shovel and the sledgehammer. So, here are some nice tools I prepared earlier (from other kits). They are not as was standard with this vehicle but who says a tank crew can't pinch a pick from somewhere. Or a nice tin can (easily made from a bit of sheet metal, the hard part is going to be the label).
The brass set comes with brackets for all the tools but only provides for the shovel, this part here. I think I definitely have to shape it up and put it through its paces but I am a little worried. Easy enough to form the shovel blade part to the right curve but I am not sure how I should treat the mount part; just how will I roll that around the handle? Instructions just say to join it to a length of plastic rod - hmm.

This is a close-up of the brass part for the jack block. I have not squared it perfectly and I have not filled it (with glue, putty or solder) because I won't be using it. This part is a valiant effort but it is not going to pass for wood grain at 1/35th. However, from it I understand not just the all-important dimensions but that the block was made up from three separate wooden blocks - presumably that was easier and cheaper than using a solid piece, perhaps it was stronger too. What I need is real wood but with a very fine grain. I have some bits of rock maple lying around and I think that will probably be just fine - bit of woodwork coming up. Then I will use the brass straps that come with this, and the wing nut :p
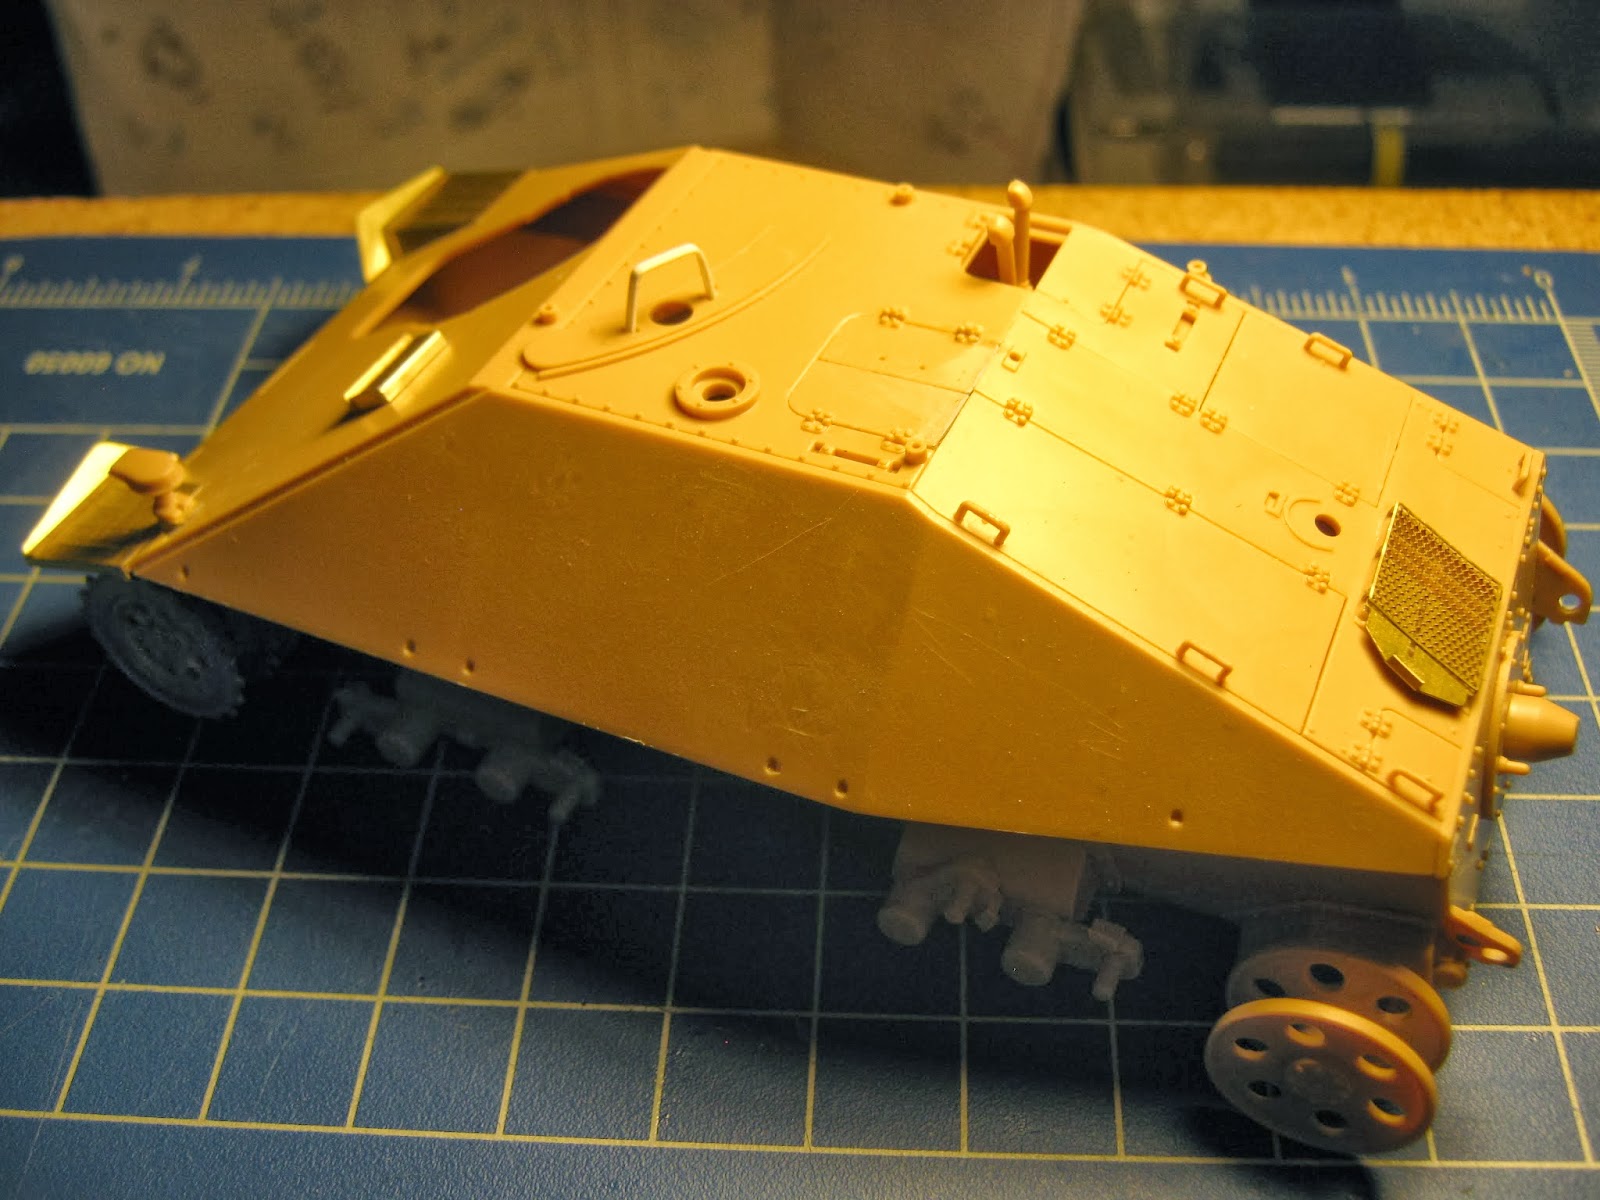
Starting to look like something!


No comments:
Post a Comment