I have to tell you I was feeling a little
discouraged yesterday. I seemed to be not in the zone. Today was much better though :)
Tiny tiny buckle thingies, bent just right. My
problem - your problem, every model-maker's problem - is rushing. Not slowing
down. Not taking the time to think every little step through. Not being
prepared, with all the tools you need set out ready. Winging it, hoping for the best.
 Putting a tiny dab of superglue in the right
place, that is not so hard. I used the slower-setting 'gel' stuff and it seems
to be pretty good but still you don't get much time or leeway. I have a collection of tweezers, about fifteen
of them, two of them really expensive, around $150. I used my best ones.
Seriously, landing these tiny parts on the dab of glue and pushing and prodding
them into place was probably not much easier than docking with a space station. But I managed.
Putting a tiny dab of superglue in the right
place, that is not so hard. I used the slower-setting 'gel' stuff and it seems
to be pretty good but still you don't get much time or leeway. I have a collection of tweezers, about fifteen
of them, two of them really expensive, around $150. I used my best ones.
Seriously, landing these tiny parts on the dab of glue and pushing and prodding
them into place was probably not much easier than docking with a space station. But I managed.
I wrestle with the track guards and finally get them on. Some small alignment problems but overall they are cutting it. More than I can say for this so-called WYSIWYG blogging tool from Google. What I'm looking at now is beautifully laid out. Sorry what you read is all over the place.
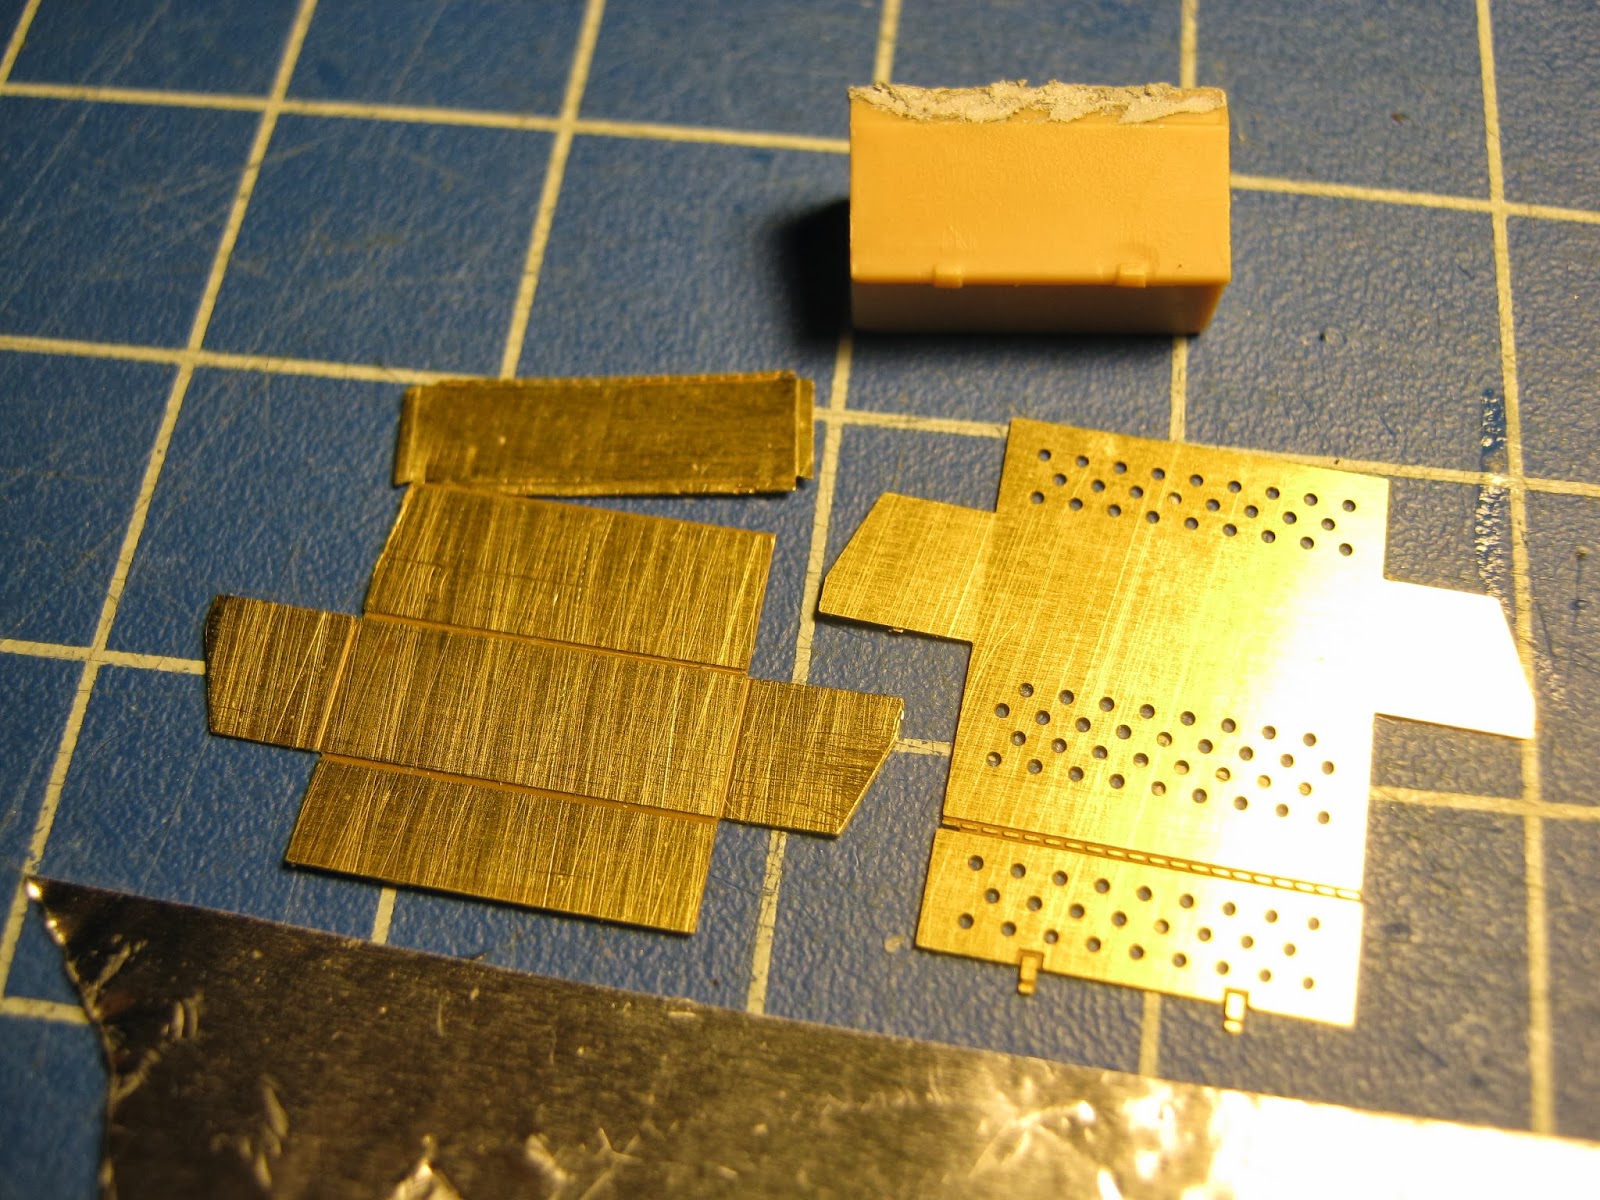
Okay, we have some catch-up stuff to do. I
totally messed up this toolbox (on the left there, the later version was not
perforated). Somehow I didn't put it together square, then I tried to file it
into shape, and - disaster. You can see where I lost it on the top left of the
original part. At first I thought I would make do with the kit part (so I
filled a gap at the back) but that's not on; the brass etched toolbox is a real
star and I can't do without it. I also used what I had as a template to begin
cutting out a new one from foil-thin sheet steel but then I had a better idea.
Luckily, the brass set comes with both early and late boxes. So this is the
plan: I'm going to make up the 'early' box, fill the holes so now it's a 'late'
box. I will have to cut away and replace the lid. I can make a new lid from the
old, ruined part.
 Step One: cut the lid off the new box. This time
I am really CAREFUL.
I fold it up CAREFULLY.
Step One: cut the lid off the new box. This time
I am really CAREFUL.
I fold it up CAREFULLY.
Like so.
And this time I get something I can be happy with. We can see a bit of daylight through the cracks but that's not a problem, they will be filled. It is important only that the thing be nicely squared up.
I get the old lid, I roll it flat with the handle of my craft knife, I put back the folds.
Because it's had such rough treatment from me it actually looks fantastic, all dented and bent up, but there is a problem ...
Where I cut through the hinge to remove the lid the kerf is too wide. I cannot use this lid, sadly.
Instead, I am going to use the old, damaged, box to make the new lid.
I take my time and score where I am going to remove the unwanted material, the top half.
I succeed! Next, I am going to remove the material from the box sides in order to leave the lip of the lid. I use the tape to give myself a guide.
I was careful and left plenty of margin so I would get the depth of the lid's lip right. I could have trusted myself and cut closer but I'm going to file it down and I would much rather be removing material than trying to put it back.
I'll file that lid later while I'm watching TV. But for now, back to the box part. I am mixing Araldite (epoxy). I am going to run generous amounts of this glue into the corners and edges inside. This will make the box strong enough to handle filling all the perforations and the outside edges too. It's late now so we'll continue the toolbox capers tomorrow :p


No comments:
Post a Comment